Creating an Outdoor Scene with Copic Markers
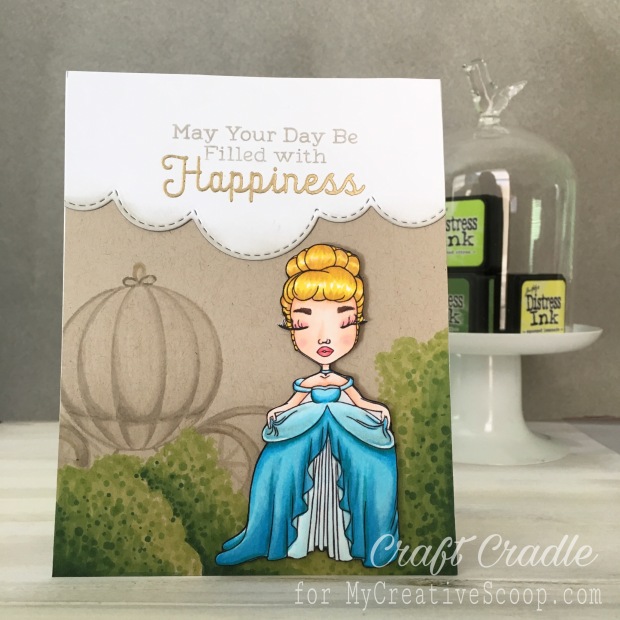
Hello, hello! Today I am playing with a digi stamp from My Creative Scoop. Enchanting, isn’t she? And there are more where this came from! Be sure to follow My Creative Scoop Digi Shop and be the first to get your hands on the Princesses! Also, don’t forget to sign up for the Princess Colouring Class here to learn how to bring them to live with Copic markers!
I am a huge fan of Disney princesses and I believe that we can all create our own fairy tales. ‘Cos it does not matter what happens in life, what matters is HOW you respond to it. Anyway, I digress.
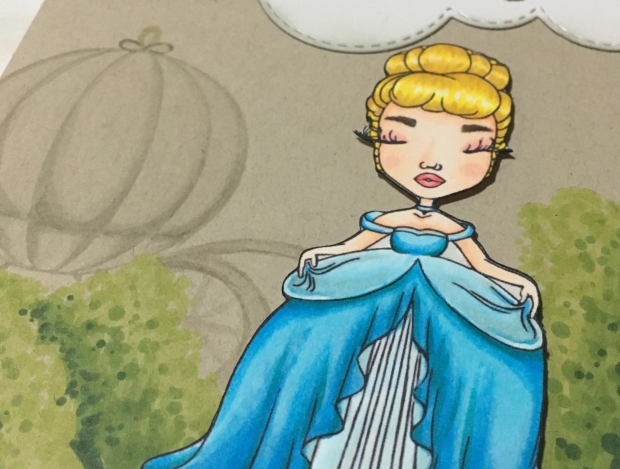
I gave Cindy a pretty conventional makeover: Y00, Y08 and E33 for her hair; E57, E77 and E49 for eyebrow;YR000, E000 and E93 for skin; R20 and RV21 for eyeshadow and blush; R43 and R37 for lips; B00, B04, BG49 and W1 for the dress. Learn more about the flicking and blending techniques, including colouring hair texture and creases on clothes here.
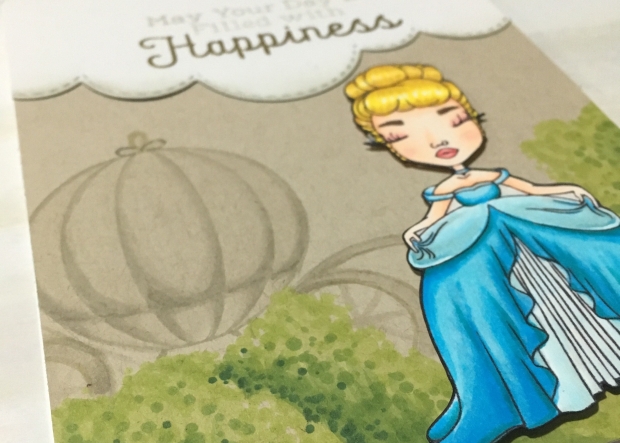
To create the shrubs, I lightly sketched the outline on a piece of Kraft card stock, and then added colours to them using the dotting technique. Love how a simple dot can add so much texture and depth to a scene! Markers used were YG03, YG17 and G28.
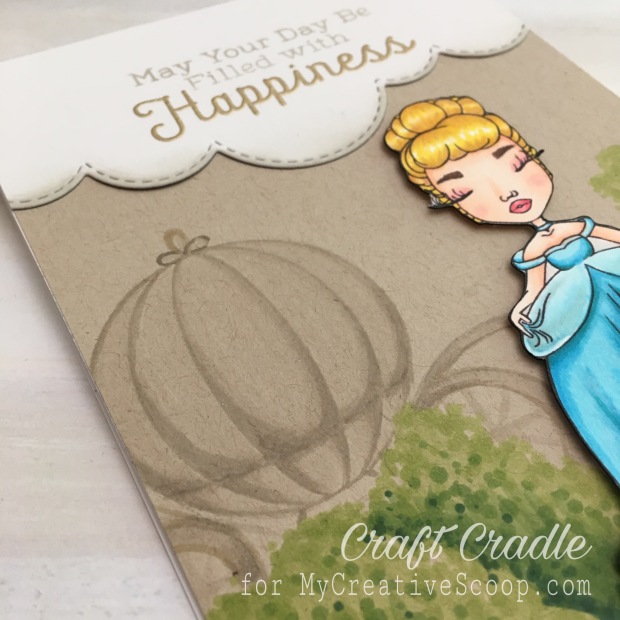
Sometimes as cardmakers we struggle to find that one stamp to complete a scene. For me, a scene from Cinderella would not be complete without a pumpkin chariot. So I went through my collection of stamps, determined to get her her ride to the party. Lo and behold, there it was, staring right back at me – a hot air balloon! With the help of some partial stamping plus simple doodling and shading with Copic markers, I went to bed that night with a contented smile.
For the sentiment, again I partial stamped the top part of the sentiment in grey, and heat embossed the remaining part with ultra fine detail gold embossing powder. The sentiment was then die-cut using a cloud die and adhered to the top of my card base. I also applied the edges with some grey ink to help blend in with the background.
Thanks for dropping by today. For more princess digi stamps and Copic tutorials, be sure to visit My Creative Scoop. Hope you find inspiration here and see you soon!
Hugs,

SUPPLIES
[Affiliate links used.]


This is so fabulous Michelle. The colouring is spot on and I love how you used the hot air balloon as the carriage…inspired!
LikeLike
Fabulous card! I love the colouring on her dress. The folds are really lovely, but I’m most impressed with how you created the background and the pumpkin coach – superb use of another stamp! xx
LikeLike
Stunning card! I love how you did the coach – awesome, Jo x
LikeLike
Wow, great job coloring. Love your background scene, especially the trees. Amazing! Thanks for joining us on the Simon Says Stamp Monday Challenge.
Cathie ♥
LikeLike
Very cool colouring, she looks divine!! And I love the fluffly bushes, they have such detail and dimension. Your colouring skills are becoming spectacular!
LikeLike
Pingback: How to Make Cute Shaker Tags | Craft Cradle